*This is only for cammsrisk standalone clients (i.e you do not have interplan to manage these).
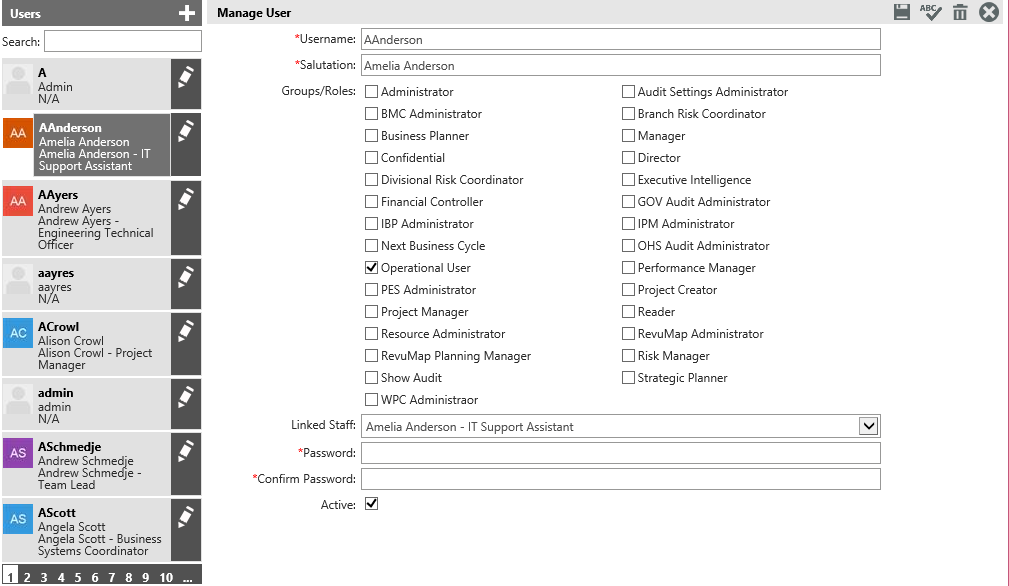
The Manage Users area is used to manage user accounts including their access details and security permissions.
The user accounts are created after adding staff members via the Staff screen.
STEP 1: To access the Manage users area, navigate to Users > Manage Users.
The Manage Users area displays all your current system users along the left side of the screen.
STEP 2: To create a new user click on the 'Add New’![]() Icon.
Icon.
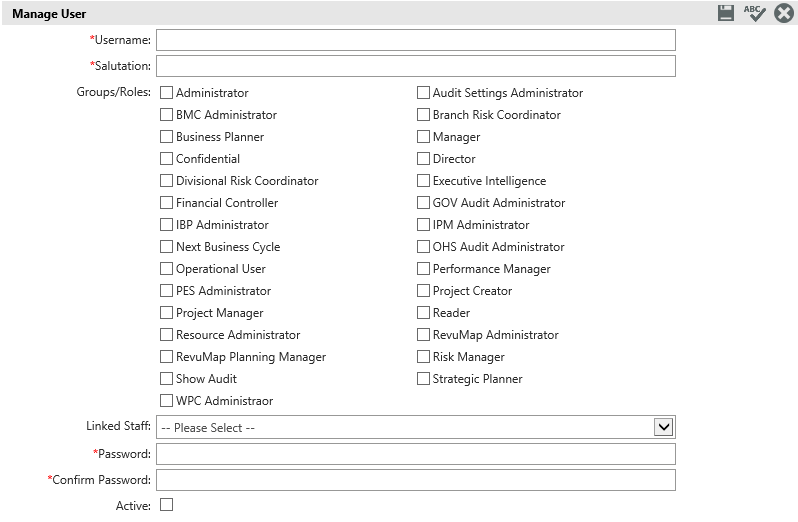
STEP 3: Type in a username and welcome salutation. Consider using the same naming protocol as in your network. This saves users from having to remember more than one username. Note: Your Active Directory SSO can ensure a universal logon for your users.
STEP 4: Select a security role for a user. You can select a combination of security roles for a user, however the highest security level will override the lower levels. If one role allows you permission to carry out a certain action and another role doesn’t, the user WILL be allowed to carry out that action. See Security for more information.
STEP 5: Select the name of the staff member from the 'Linked Staff' drop down list. The linked staff member must be the same person as you are setting up the login for which is set up within the Staff area. This linkage allows the system to recognise the user and display the homepage responsibilities correctly.
STEP 6: Define a password and set the user as Active by ticking the box. Inactive users will not appear in Staff lists throughout the system.
STEP 7: Click the 'Save' ![]() icon.
icon.
|
|
The staff Organisational link within staff will determine what areas of the Org Hierarchy they will have access to edit, etc if they are a Manager or Director. |
Copyright © 2014-2015 CAMMS Online Help. All rights reserved.
Last revised: September 23, 2018
