E-mail notifications can be sent for a variety of reasons including general notices, recommendation dues and recommendation completion. For the e-mail notifications to work, staff e-mail addresses must be included in the ‘Staff’ area in the Framework section.
E-mails are not sent immediately upon saving the Audit record, they are queued and sent at specific intervals as per the system 'E-mail Service Configuration'.
To configure an automated e-mail notification, follow the below given steps.
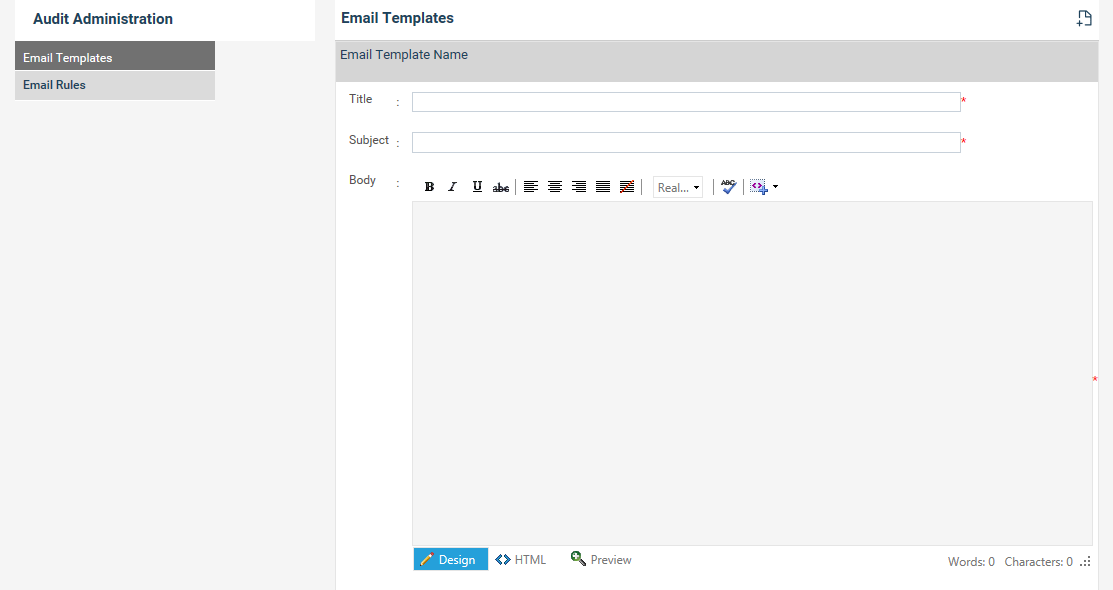
STEP 1: Go to Audit Settings > E-mail Notifications
STEP 2: Click 'New' to open the 'Audit E-mail Template Details' screen.

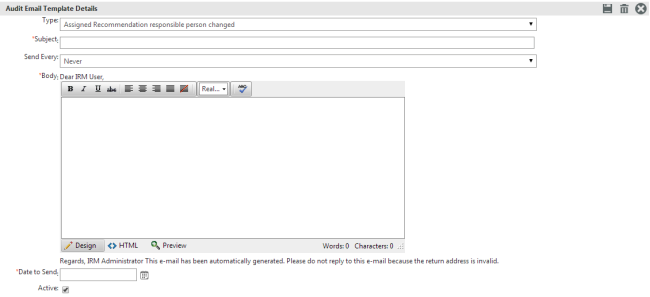

STEP 3: Select the e-mail type from the dropdown list. By default, there are five standard e-mail templates available in the system which can be selected via the dropdown list according to requirement. These options are;
1 Recommendations assigned to a responsible person
2 Assigned recommendation responsible person changed
3 Recommendations completed by responsible person
4 Recommendations (audit actions) due for completion
Depending on the e-mail type, the interface may slightly change. For instance, the 'Send Every' control is only available for 'Overdue Recommendations' template.
STEP 4: Select the frequency from the 'Send Every' dropdown list (Applicable only for 'Overdue Recommendations' template).
STEP 5: Enter a suitable subject line and e-mail body.
STEP 6: Define a value in 'Number of Days' field to specify when a reminder e-mail notification is sent to its intended recipients that the final date for implementing audit recommendations is due. (Applicable only for 'Recommendations (audit actions) due for completion' template.)
STEP 7: Set the current audit e-mail as active or inactive by ticking the check box. When the check box is ticked, the e-mail template is active. When the check box is un-ticked, the e-mail template is Inactive. E-mails are generated only from active templates.
STEP 8: After setting up an e-mail template, save it by clicking the Save icon.
 |
The e-mails configured in this section are generated based on the information entered in the Recommendation screen. |
Copyright © 2014-2015 CAMMS Online Help. All rights reserved.
Last revised: September 23, 2018