The administrator will be able to configure and set up new registers apart from existing standard registers (i.e. ActionObject and IncidentObject) of the system through Register Configuration.
To add a new Register follow the steps below;
STEP 1: Navigate to Framework > Incident Settings > Register Configuration
STEP 2: Click on the plus icon ![]()
STEP 3: Fill the relevant fields defining the properties of the register
Following fields will be available.
|
Column |
Type |
Description/Instructions |
Mandatory/Optional |
| Register Type |
Drop down |
Select whether the Register is either based on Incident Object details or Incident Action Object details. Please select ‘Incident Registers’ as the register type. Note: This is currently work in progress and the feature is completed to function as outlined only for the ‘Incident Register’ option. The remaining will be completed via a future service pack release. |
Optional |
| Register Name |
Text |
Name of the register Note: This name will be used on the homepage area and menus for the new registers |
Mandatory |
|
Description |
Text |
A short description defining the register |
Optional |
|
Incident Type |
Multi-Select Drop down | Lists all the Incident types configured in the application. |
Optional |
|
Active |
Tick box |
Determines whether the register is Active or Inactive. |
Optional |
|
Show in Home Page |
Tick box | Determines whether the newly created register appears on the homepage. |
Optional |
STEP 4: Click on the save icon ![]() to save the details
to save the details
Business Rules:
Users will be able to select one/more incident types to sit within each new register created by ‘Incident Type’ dropdown. Users can choose to have separate registers for each/multiple/all incident type/s.
All the list of ‘Active’ registers created will be able to access via the Menu and the left side navigation. A new navigable link will be created for all newly created registers under Incident Management which are made ‘Active’.
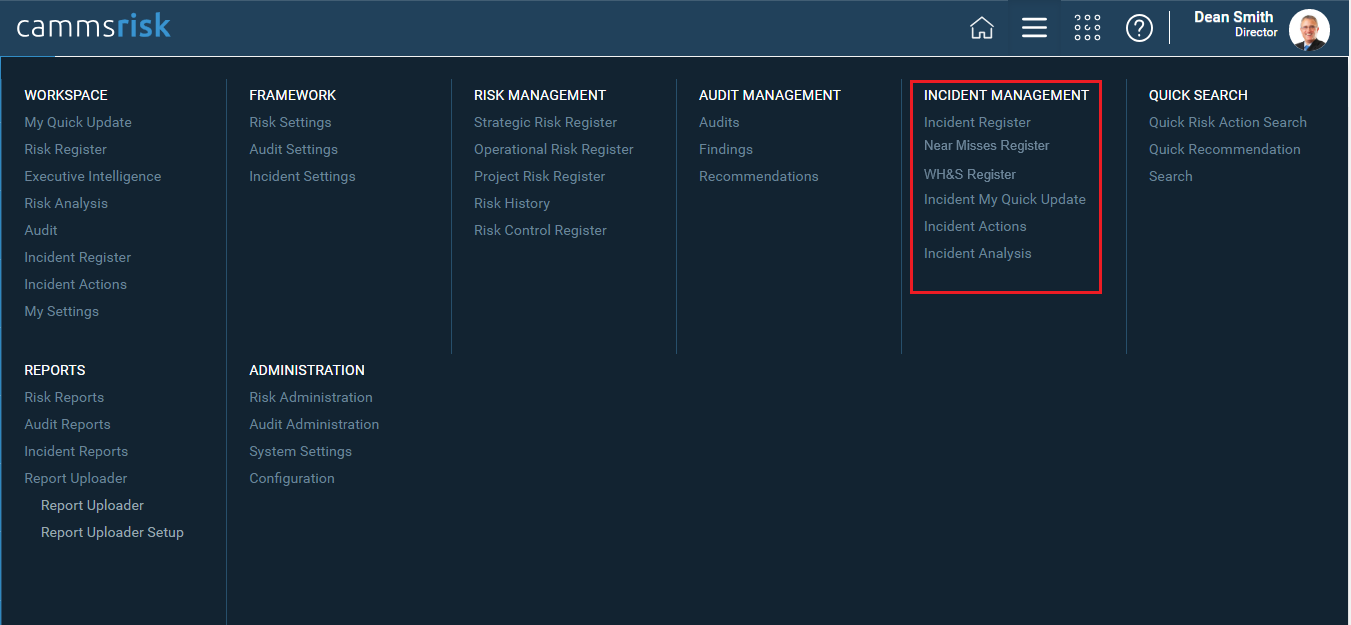
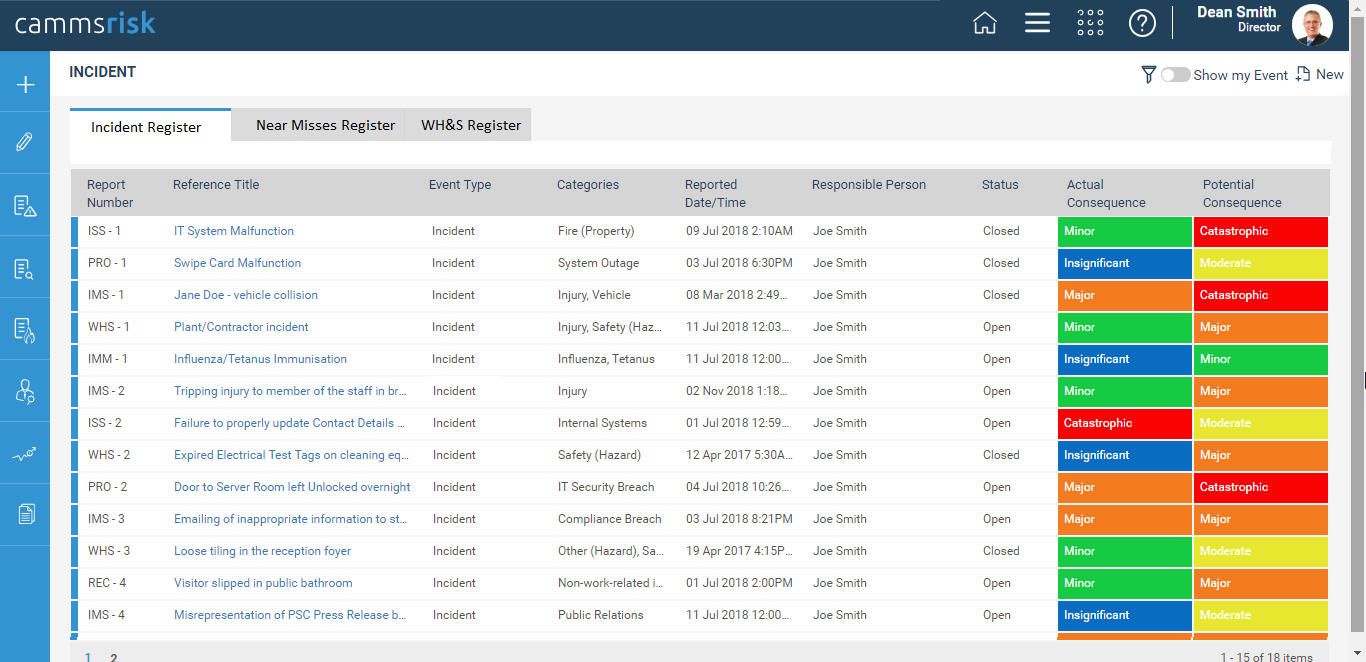
All the registers ticked with ‘Show in Home Page’ tick box will be appear on the home page with separate tabs for each.
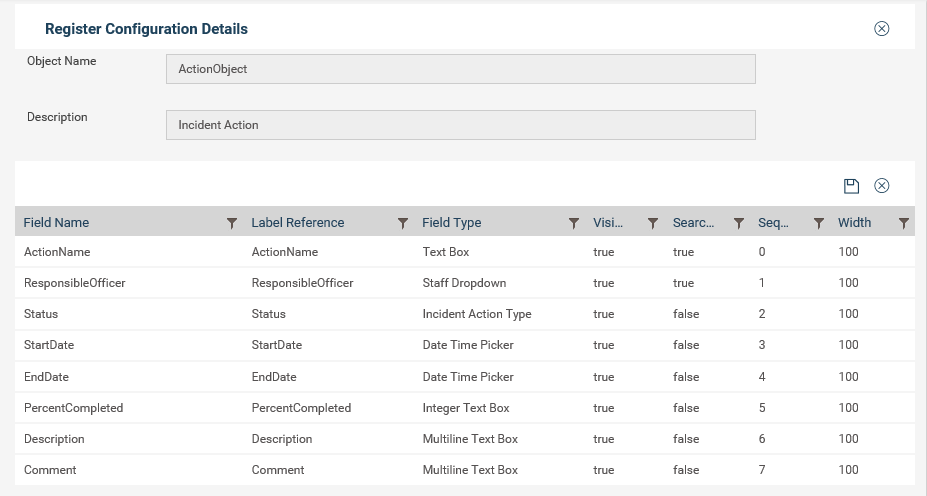
Administrator will be able to configure the visibility of the fields within incident and action registered through Register configuration.
To configure the register follow the steps below;
STEP 1: Click on the register.
STEP 2: Change the visibility of a field using the visible column.
STEP 3: Make a field appear in the search using the searchable column.
STEP 4: Change the Sequence of the fields using the sequence column.
STEP 5: Specify the width of the column to be displayed in the register using the Width column.
STEP 6: Click Save.
Copyright © 2014-2015 CAMMS Online Help. All rights reserved.
Last revised: September 23, 2018