
This object is used to capture key information about a project at its inception. Its inclusion in a project workflow is mandatory.
The Project Details object can include three tabs namely project details, project expenditure and project phase although the latter two can be switched off by your Administrator if not required.

Project Details Tab
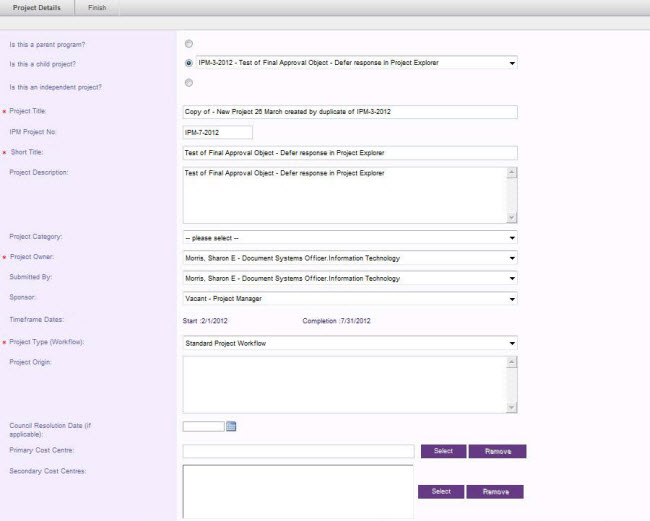
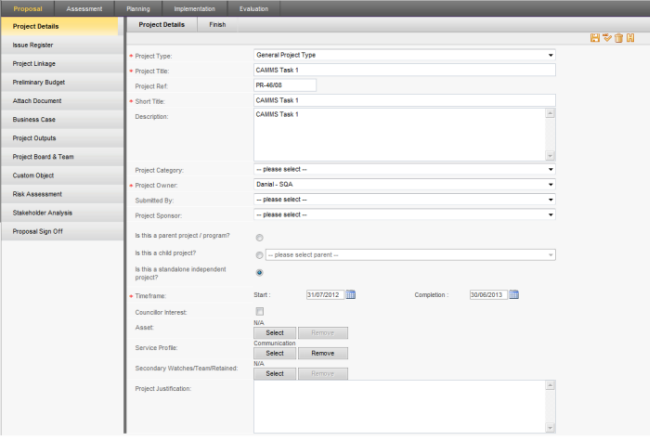
The Project Details tab allows you to define the important elements required to initiate the project.
STEP 1: Specify the following details to record the project related information.
 |
The visibility of some fields and their order can be controlled by the IPM Administrator from within the Framework area. IPM Premium activation also enables additional fields on this screen. |
* Fields activated/affected by the IPM Premium are marked with an asterisk below.
|
Field |
Description / Instructions |
Mandatory / Optional |
|
Project Type |
Allows selecting a project type. Selection determines the phases and steps the project will take because the type is linked to a workflow. These are defined by the IPM Administrator within Settings Configuration > Project Type area |
Mandatory |
|
Project Title |
Title of the project |
Optional |
|
Is this a parent project ? Is this a child project ? Is this an independent project ? |
Selection allows to build a project hierarchy within all projects in the system.
|
Mandatory |
|
Short Title |
Short title of the project |
|
|
Description |
A brief description of the purpose of the project |
Optional |
|
Project Category |
Allows selecting a project category. Used to categorise the project as per list of categories defined by your administrator via the Settings configuration > Custom Lists area |
Optional |
|
Project Owner |
Allows specifying a staff member who is the owner/ responsible person of a project. Staff members are defined by interplan® Administrator. |
Mandatory |
|
Submitted By |
Allows to specify a staff member who initiates the project |
Optional |
|
Project Sponsor |
Allows to select the staff member as the sponsor who provides high level advice and support for a project |
Optional |
|
Time Frame |
Start and expected End date of the project |
Mandatory |
|
Project Start and End Date |
Allows you to define the Project start and end date. |
Mandatory |
|
Project Justification |
A brief justification for initiating the project |
Optional |
|
Project Reference |
This will be automatically assigned depending on the setting set in 'Project Code' section within Settings Configuration which is only accessible by the IPM Administrators. You can modify this accordingly. |
N/A |
|
Councillor interest |
Selecting this tick box indicates whether the 'Councillor' is interested in the project or not |
Optional |
STEP 2: To record asset* details, click the adjacent 'Select' button.
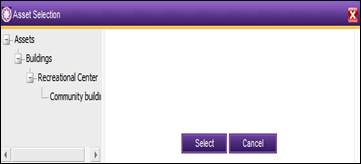
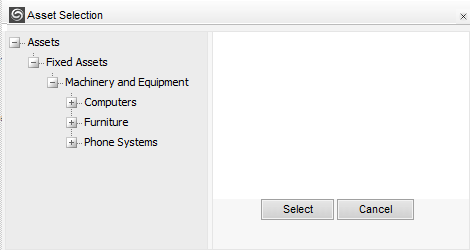
STEP 3: Select a particular node in asset hierarchy. It will list all assets linked to the particular node on the right hand side grid as shown.
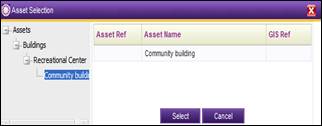
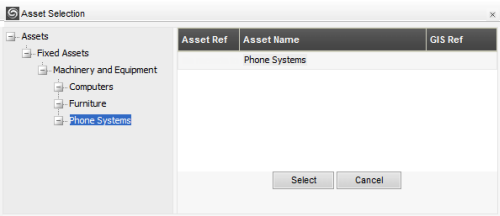
STEP 4: Select an asset from the grid and click 'Select'. A project can be associated with only one asset. A project can be linked to multiple interplan service profiles from which one would be selected as the primary service profile. This link establishes a project link to the interplan organisational hierarchy.


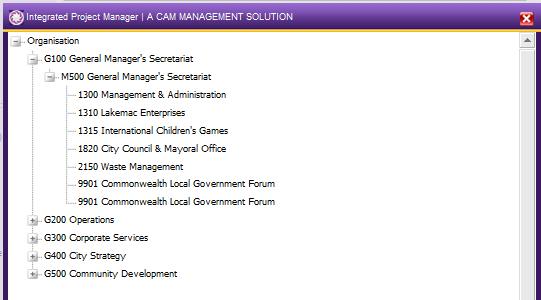
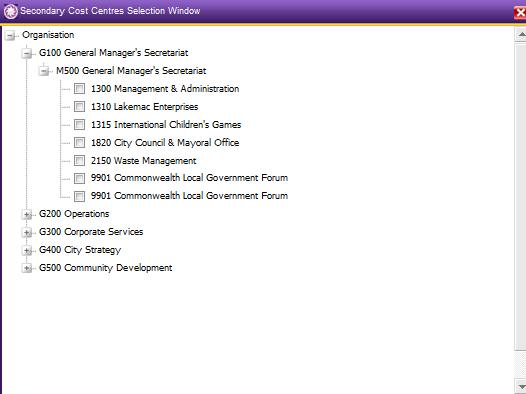
STEP 5 : To define a primary service profile, click ‘Select’. A popup will open allowing the user to select the Primary Service Profile from the hierarchy tree.
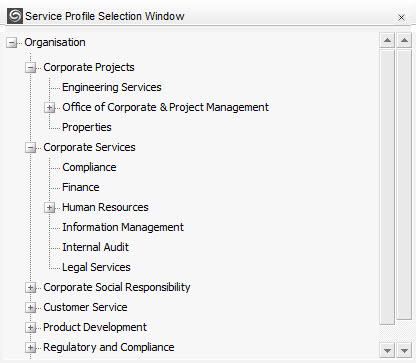
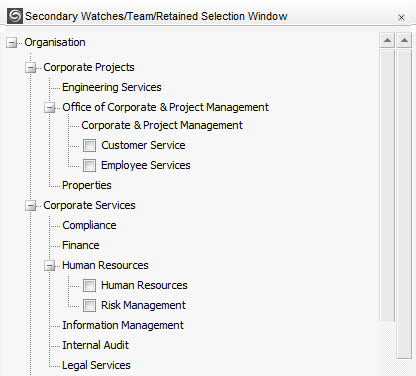
STEP 6 : Similarly, secondary service profiles can be selected by clicking on the adjacent ‘select’ button and ticking the corresponding service profiles in the hierarchy tree.
|
Clicking on the ‘Remove’ button adjacent to secondary service profiles will remove all selected service profiles. To remove only a particular service profile, click ‘select’ button and deselect the service profiles that needs to be removed. |
STEP 7: Click 'Save' icon to save the details.
|
The Project type selected for a particular project will determine the project workflow as each project type is linked to a project workflow by the IPM Administrator. That means the phases, their sub-sections and sub section properties (project title, project type, etc.) of your new project, will be entirely dependent on the selected 'Project Type'. Once the project has been saved, the remaining tabs in the phase get activated where available. |
Project Expenditure Tab
STEP 6: Click on the 'Project Expenditure' tab.
It allows you to record multiple expenditure types for a project. The Expenditure type is to define what major budget type this project will go under. The budget types defined by the IPM Administrator within Setting Configuration > Budget Type will be listed down.
STEP 7: Select the available 'Expenditure Type' from dropdown and click 'Add'.
STEP 8: For each Expenditure type added, specify a weight and click 'Save'.


 |
|
Project Phase Tab
The Project Details Project Phases tab is very limited to what it can do. It was basically developed as part of the very first version of IPM before we developed workflows. Since then, we have developed workflows and also developed sign offs to enhance this further and to identify current phase.
Now that we have a fully fledge workflow, the project phase is obsolete or shouldn’t be used if you are using the workflow phases. You can remove the visibility via the workflow (un-ticking Tab Visibility).
STEP 9: Click on the 'Project Phase' tab.
This is where the time line for each project phase will be set. You can specify a 'Start date' and 'End Date' for each and every phase of a 'Project Work Flow'.
STEP 10: Click 'Add new Phase'.
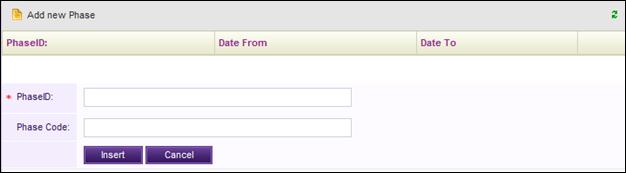
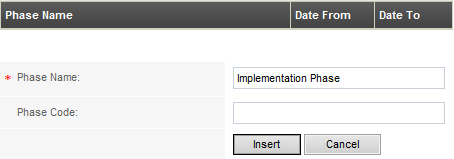
STEP 11: Enter a phase id and phase code and click 'Insert'.
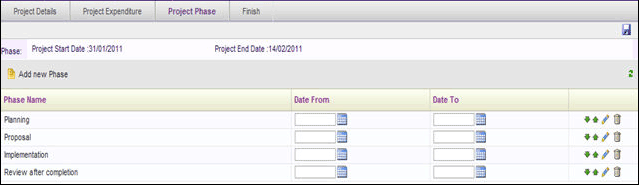
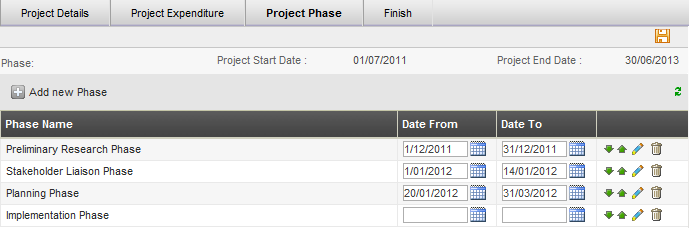
STEP 12: After defining a project phase, you can add start and end dates for the particular project phase.

Once saved, you can move the phases using the up and down arrows.
|
Business Rules
|
Copyright © 2014-2015 CAMMS Online Help. All rights reserved.
Last revised: September 23, 2018