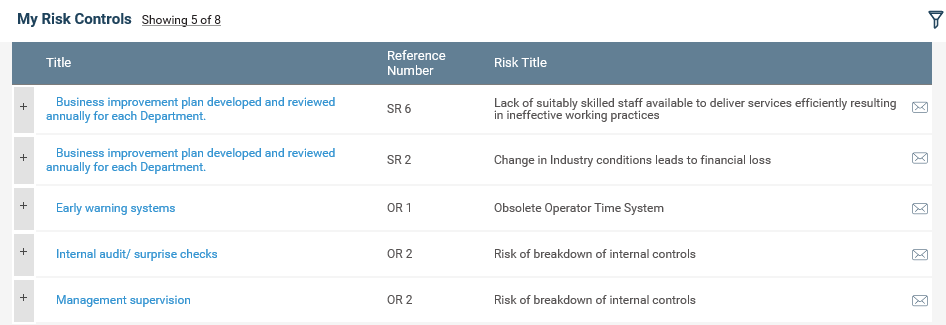
This areas allows the user to view the controls linked to the user, where user is responsible as a control owner or the authorizer.
The control title, risk code and risk title are displayed in the default view of the list of controls.
To filter, you can click on the filter icon ![]() on the top right hand corner of the section.
on the top right hand corner of the section.
The following filters will be available.
|
Filter |
Description |
|
Control Title |
A text box that will allow you to perform a key word search on control title you are responsible for. This is a key word search and therefore, by entering a part of the control title you will be able to filter out all controls that contain the typed characters anywhere in the title. |
|
Control Owner |
Dropdown that lists all staff for you to search by Control Owner. |
|
Control Type |
Dropdown selection that will allow you to filter by control type. |
|
Control Rating |
Dropdown that lists the ratings for you to search the controls by rating. |
|
Risk title |
A text box that will allow you to perform a search by Risk title (to which the controls are associated with). |
|
Risk type |
A drop down select that will all you to perform a search by risk type for risks (to which the controls are associated with). |
|
Risk Code |
A text box that will allow you to perform a search by risk code 9to which the controls are associated with) |
|
Control Business Unit |
A drop down selection to allow you to filter by the business unit which the control is linked to. |
Search and Clear Filters buttons are available within filters area. Ticking “Save as Default” option will save the current search as default.
To collapse the filters, just click on the filter icon again and the section will be hidden from view.Risk Control Update:
To carry out a risk control update via My Quick Update page;
STEP 1: Expand Risk Control by clicking on the expand icon adjacent to the record.
STEP 2: The following screen will be displayed for you to update the progress of the Risk control.
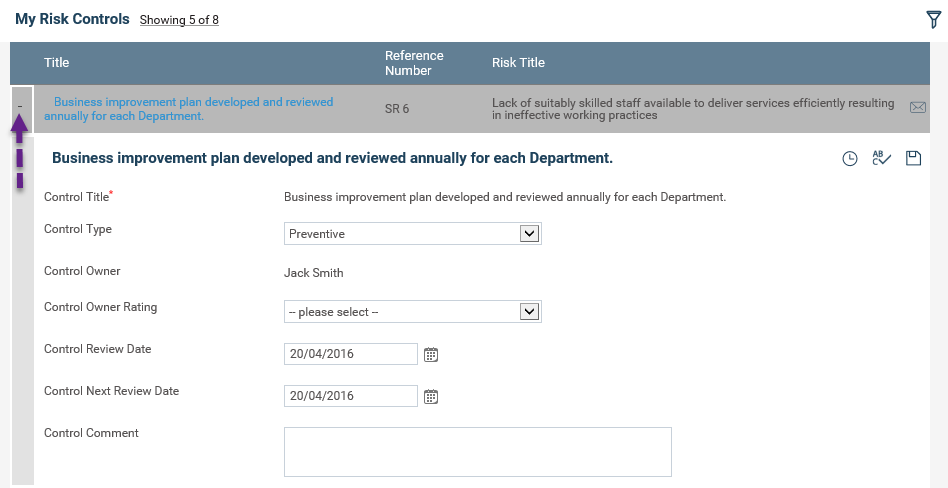
STEP 3: Add or edit the fields displayed if necessary.
STEP 4: Click save button![]() to save any changes made to the record.
to save any changes made to the record.
|
|
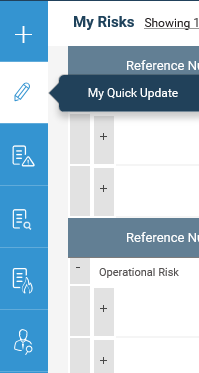
Note: the “My Quick Update” area can also be accessed from your home page side welcome panel for easy access. |
Copyright © 2014-2015 CAMMS Online Help. All rights reserved.
Last revised: September 23, 2018