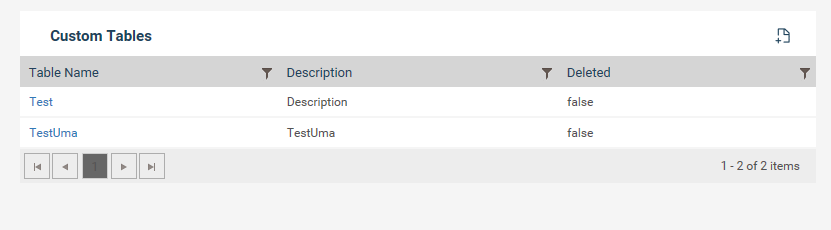
This section will allow the administrators to define custom tables that can be used within workflow objects.
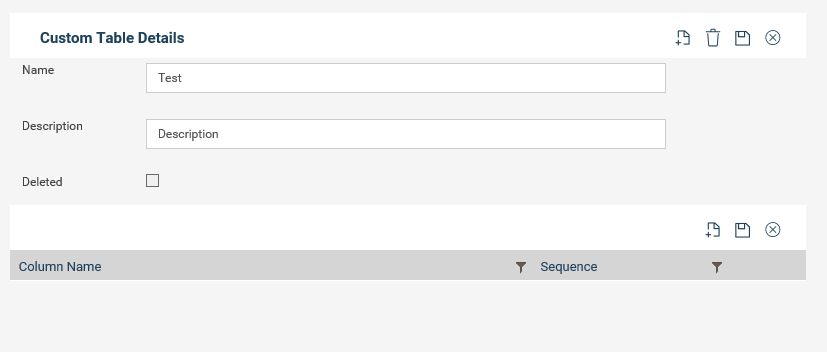
To create a new custom table:
Step 1: Enter a name for the table along with a description. Ensure that the table name doesn’t have any spaces in-between.
Eg: “WitnessDetails” or “Witness_Details” instead of “Witness details”
Step 2: Click Save.
Step 3: Enter a set of columns for the table. Only text input can be included in to custom tables.
Step 4: Enter sequence in which the columns should appear.
Step 5: Click save at the top of the column grid.
Copyright © 2014-2015 CAMMS Online Help. All rights reserved.
Last revised: September 23, 2018