Workflow describes the flow or progress of a plan within the organisation. The Business Planning workflow includes phases and elements. The phase includes stages of a plan. (e.g. Introduction, Proposal, etc.) and elements are the sub level of a Phase (e.g. Vision, Mission, etc.).
The IBP Administrator can create and modify workflows.
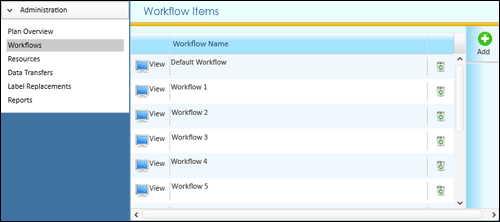
STEP 1: Go to Administration > Workflow to access the workflow area.
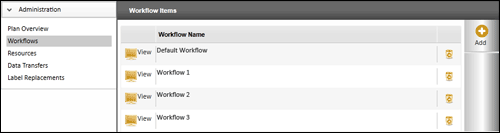
The Worflow Items page displays the workflows that are available in the system.
STEP 2: To create a new workflow, click 'Add'.
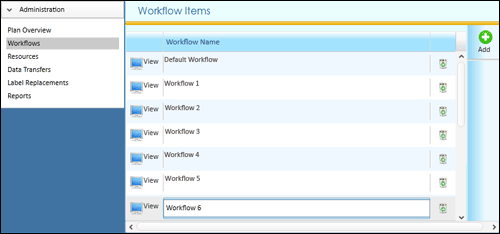
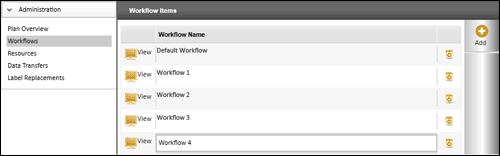
The system creates a text entry field at the bottom of the workflow list where the name of the new workflow can be defined. Enter a suitable name and press the Enter key.
The workflow items page also allows renaming a workflow. To rename a workflow, double-click on the selected workflow item name and edit the name.
STEP 3: To include phases and elements to a workflow, click the 'View' icon alongside that particular workflow. The workflow structure similar to the screen image shown below, is displayed.
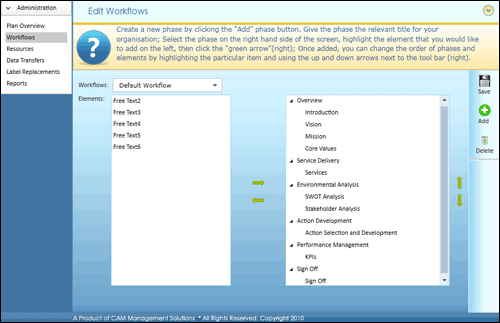
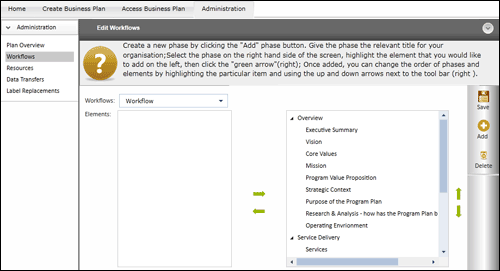
The Edit Workflow screen allows adding phases and elements to the workflow and also allows renaming phases and elements.
The Elements panel displays the default elements available within the system.
The panel on the right displays the workflow structure.
Use the Workflow drop down list to select workflows available in the system.
To rearrange the elements and phases, click the up and down arrows.
STEP 4: To add a phase to the workflow, click 'Add'.
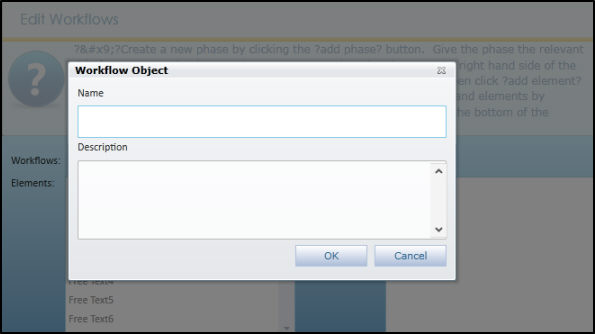

STEP 5: Enter a name and description in the pop up window.
STEP 6: Click 'OK' button. The new phase is added and displayed within the workflow structure box.
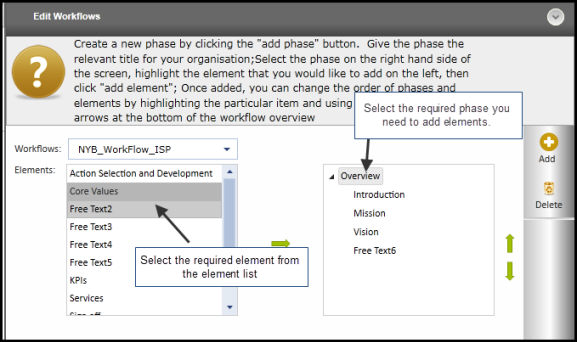
There are default elements which can be added to the workflow phases.
STEP 7: To add an element, first select the phase from the right side panel, then select the element from the Elements panel and press the right-pointing arrow. The element is moved to the workflow structure. The left and right arrows can be used to move the elements from left side to right side and vice versa.

STEP 8: To edit the name and description of an element or a phase, double-click on the particular item and edit the Name and Description text.
The system also allows adding custom elements to the system via the Free Text options.
STEP 9: To add a custom element, select a 'Free Text' object and move it to its designated phase within the workflow.
STEP 10: Modify the name of the custom element by double-clicking on the item and entering custom name and description.
STEP 11: Once the workflow is properly organised, click 'Save' icon to save the workflow in the system.
Copyright © 2014-2015 CAMMS Online Help. All rights reserved.
Last revised: September 23, 2018